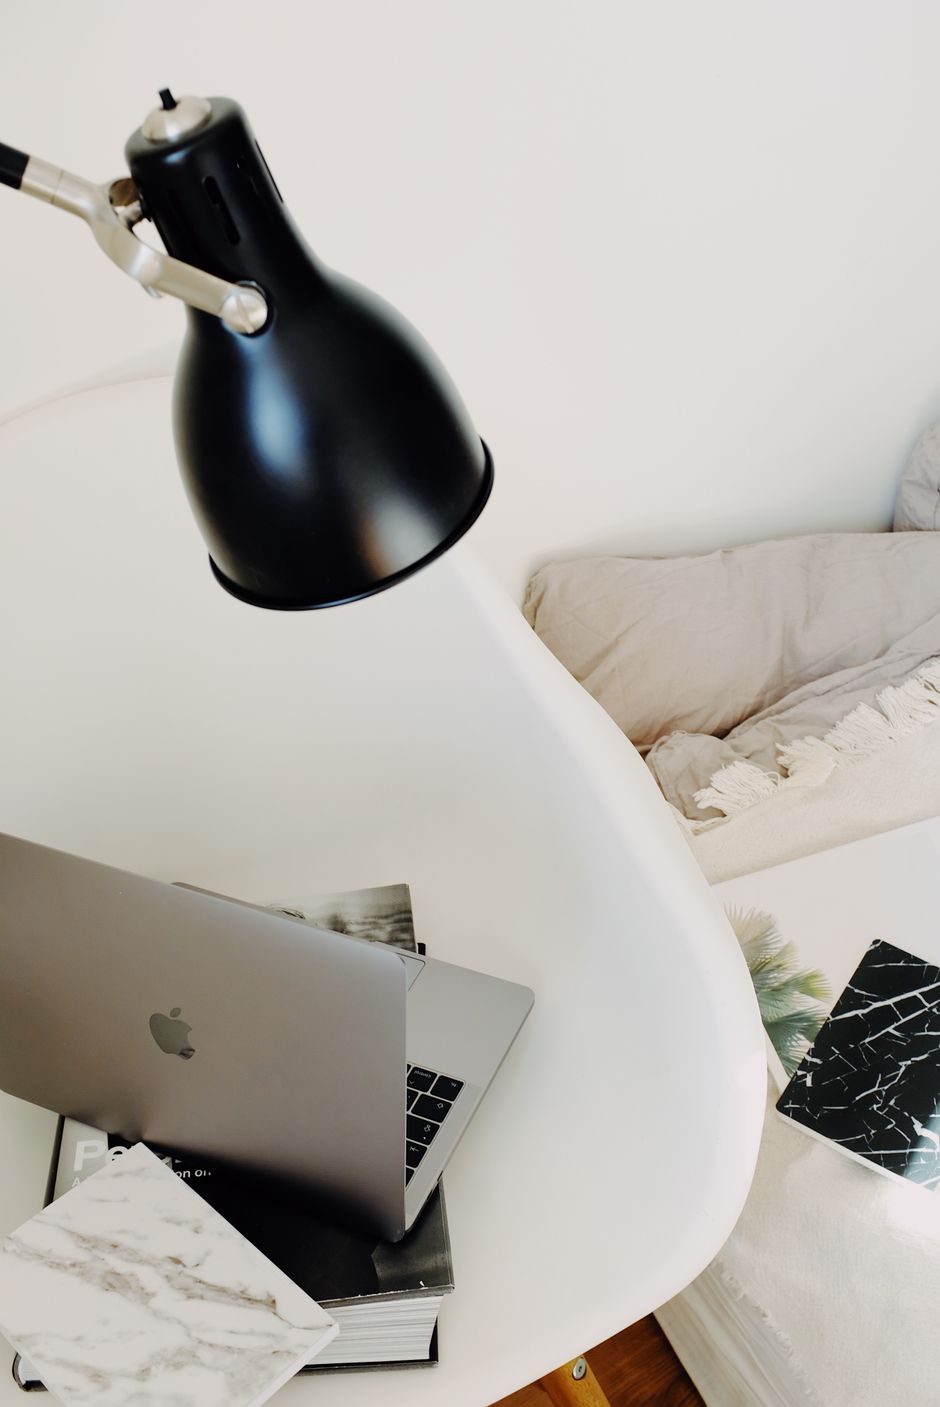
Imagine settling into bed at 22:00 on a winter evening, only to find your bedside lamp won't switch on—leaving you fumbling for your phone torch to navigate the dark. A non-functioning bedside lamp disrupts your evening routine and can cost anywhere from £15 to £150+ to replace, depending on the design and quality. Whether it's a sleek metal design, a warm wooden piece, or a delicate glass lamp, the troubleshooting process generally follows a logical path. Most failures stem from easily replaceable components—a blown bulb, a tripped circuit breaker, or a faulty fuse—rather than requiring a complete replacement. This guide walks you through systematic diagnosis and repair, helping you restore light to your bedside without unnecessary expense or delay.
Most likely causes
When a bedside lamp stops working, the cause is usually one of several predictable issues. Identifying the most likely culprits first can save time and effort in troubleshooting.
- Blown Bulb: This is by far the most frequent reason. Bulbs have a finite lifespan, and a broken filament or darkened glass indicates it's failed. Ensure you're using the correct wattage and bulb type for your lamp.
- Faulty Plug or Wall Socket: The lamp might not be receiving power. The plug could be loose, or the wall socket itself might be dead. This can be due to a tripped circuit breaker, a faulty socket, or a general power cut to that specific circuit.
- Blown Fuse in the Plug: UK plugs contain a fuse designed to protect the appliance and wiring. If the fuse blows, it cuts power to the lamp. This often happens if there's a power surge or a fault within the lamp itself drawing too much current.
- Damaged Power Cord: Over time, cords can become frayed, pinched, or cut, especially if they are frequently moved or caught under furniture. Internal breaks in the wiring can prevent power from reaching the lamp.
- Faulty Switch: The on/off switch, whether an inline cord switch, a rotary switch on the lamp base, or a touch-sensitive control, can wear out or develop internal faults, preventing the circuit from completing.
- Loose Internal Wiring: Inside the lamp's base or stem, wires can become disconnected from terminals due to vibrations, age, or poor initial assembly. This is more common in older or frequently handled lamps.
- Lamp Holder or Socket Issue: The part of the lamp that the bulb screws into can become damaged. The metal contact tabs might be bent, corroded, or broken, preventing proper electrical connection with the bulb.
- Internal Component Failure: Less common, but electronic components within the lamp (e.g., in touch lamps or those with dimmers) can fail. This is typically harder to diagnose and repair without specialist knowledge.
Step-by-step fixes

Safety: Always unplug the lamp from the wall socket before performing any inspection or repair involving the bulb, plug, or internal components. Electricity can be dangerous. If you are unsure at any point, consult a qualified electrician.
- Check and Replace the Bulb: Unplug the lamp. Carefully unscrew the existing bulb and inspect the filament; if it's broken or the glass is discoloured, it's likely blown. Replace it with a new bulb of the correct type and wattage (check the lamp's label for specifications). Ensure the new bulb is screwed in firmly but not overtightened. Plug the lamp back in and test. This single step resolves the issue in roughly half of all reported failures.
- Verify Power to the Wall Socket: Ensure the lamp's plug is fully inserted into the wall socket. Plug another working appliance (e.g., a phone charger or a different lamp) into the same wall socket to confirm it's live. If the other appliance doesn't work, the issue is with the socket or your home's electrical circuit. Check your consumer unit or fuse box for tripped circuit breakers. A tripped breaker will have a switch in the middle position; flip it fully off, then back on to reset it.
- Inspect and Replace the Plug Fuse: Unplug the lamp. Using a small flat-head screwdriver, open the fuse compartment on the lamp's plug (usually a small tray or cover on the pin side). Remove the fuse and check its rating (e.g., 3A, 5A). Look for a broken wire inside the fuse or discolouration. Replace it with a new fuse of the exact same rating. Close the compartment, plug in, and test.
- Examine the Power Cord: With the lamp unplugged, carefully run your hand along the entire length of the power cord. Look and feel for any cuts, nicks, fraying, or unusual bulges. Pay close attention to where the cord enters the plug and the lamp base, as these areas experience the most stress. If any damage is found, the cord needs to be replaced by a competent person or the lamp should be replaced entirely. Do not attempt to tape or patch a damaged cord, as this creates a serious electrical hazard and is not a safe long-term solution.
- Test the Lamp Switch: If the lamp has an inline cord switch, try bypassing it temporarily only if you are confident and competent with basic wiring and the lamp is unplugged. This involves carefully exposing and joining the wires that would normally pass through the switch (live to live, neutral to neutral) to see if the lamp illuminates when plugged in. This is a diagnostic step only, not a permanent fix. For base-mounted or touch switches, a professional repair or lamp replacement is usually more practical if other steps fail.
- Check Lamp Holder Contacts: Unplug the lamp. Look inside the bulb holder. There should be a small metal tab at the bottom and metal contacts on the side. Gently bend the bottom tab slightly upwards (using a non-conductive tool like a plastic ruler or wooden stick) to ensure it makes good contact with the bulb. Clean any visible corrosion with a dry cloth. Be careful not to damage the contacts further, as this can render the lamp unrepairable.
Prevention and maintenance
Proactive care can significantly extend the life of your bedside lamp and prevent common issues, ensuring it remains a reliable source of light. Regular maintenance is key, whether your lamp is a budget-friendly glass design or a premium handcrafted wooden piece.
- Use Correct Bulbs: Always use bulbs that match the lamp's specified wattage and type. Over-wattage bulbs can overheat wiring, damage the lamp holder, and blow fuses. LED bulbs are often a good, energy-efficient replacement for older incandescent types, but ensure compatibility with your lamp's electrical design.
- Handle with Care: Avoid pulling the lamp by its cord when moving it. Always lift it by the base. Rough handling can strain internal wiring connections or damage delicate materials like glass or intricate metalwork, particularly in premium or handcrafted designs.
- Cord Management: Keep power cords untangled and away from heavy furniture that could pinch or fray them. Avoid placing cords in high-traffic areas where they could be stepped on or tripped over. Use cord clips or ties to secure excess length and prevent the cord from becoming a trip hazard.
- Regular Cleaning: Dust and debris can accumulate inside the lamp holder or around the switch, potentially interfering with electrical contacts or causing overheating. Unplug the lamp and gently wipe it down with a dry or slightly damp cloth, paying attention to crevices and the bulb area. For wooden lamps, use appropriate wood cleaners; for metal, a soft, dry cloth is usually sufficient. For glass lamps, a microfibre cloth prevents streaking.
- Avoid Overloading Sockets: Do not plug multiple high-power appliances into the same wall socket or extension lead as your lamp. This can trip circuit breakers or blow fuses, affecting all connected devices and potentially creating a fire hazard.
- Check for Loose Connections: Periodically, and with the lamp unplugged, gently check if the bulb is screwed in tightly and if the plug is firmly seated in the wall socket. This can prevent intermittent power issues that develop over time.
- Inspect for Wear: Every few months, quickly inspect the cord, plug, and switch for any visible signs of wear, fraying, or damage. Early detection allows for timely repair or replacement before a complete failure occurs and leaves you without bedside lighting.
Repair or replace: making the right choice
Brass Table Lamps


Deciding whether to repair or replace a non-working bedside lamp depends on several factors, including the nature of the fault, the lamp's value, and your comfort with electrical repairs. The comparison table below illustrates typical cost considerations for common repairs versus replacement:
| Issue | Typical Repair Cost (Labour + Parts) | Replacement Cost Range | Best for Repair? |
|---|---|---|---|
| Blown bulb | £3–£8 | £20–£150+ | Yes, always repair |
| Blown plug fuse | £2–£5 | £20–£150+ | Yes, always repair |
| Damaged power cord | £25–£60 (DIY: £5–£12) | £20–£150+ | Yes, if lamp has sentimental or high value |
| Faulty inline switch | £15–£40 (DIY: £3–£8) | £20–£150+ | Yes, for premium lamps; consider replacement for budget models |
| Loose internal wiring | £30–£70 (professional) | £20–£150+ | Depends on lamp value and accessibility |
| Lamp holder damage | £20–£50 (if replaceable) | £20–£150+ | Yes, if holder is replaceable; otherwise replace lamp |
| Touch/dimmer circuit failure | £40–£100+ (professional) | £20–£150+ | Usually replace; repair rarely cost-effective |

Simple fixes like replacing a bulb or a plug fuse are almost always worth doing, as they are inexpensive and straightforward. If the issue is a damaged cord or a faulty switch, the decision becomes more nuanced. Replacing a cord or an inline switch can be a relatively simple DIY task for those with basic electrical competence, and replacement parts are generally affordable. However, if the fault lies within the lamp's internal wiring, the lamp holder, or complex integrated components (especially in touch-sensitive or dimmable models), professional repair costs can quickly approach or exceed the price of a new lamp.
Consider the lamp's aesthetic and sentimental value. A cherished handcrafted wooden lamp or a unique stained glass design, perhaps a premium option that originally cost significantly more than a budget-friendly glass or metal lamp, might warrant professional repair even if the cost is higher. However, for a standard, mass-produced lamp, particularly those in the lower price bands, replacement often makes more sense, especially given the wide range of high-quality, well-rated options available today. Many modern lamps offer improved energy efficiency and features, making a new purchase a practical upgrade.
Frequently asked questions
Q: Why is my bedside lamp not working after a power cut?A: A power cut can sometimes cause a surge when power is restored, potentially blowing the lamp's bulb or the fuse in its plug. Check these two components first. If other appliances in the same room are also affected, the issue might be a tripped circuit breaker in your home's consumer unit. Switch it fully off, then back on to reset.
Q: Can I repair a frayed lamp cord myself?A: While it's technically possible to replace a frayed cord, it's crucial that this is done correctly and safely to prevent electrical hazards. If you are not confident in your electrical wiring skills, it is safer to have a qualified electrician replace the cord or consider replacing the entire lamp, especially if it's an older model or a budget option where the cost of repair might outweigh its value.
Q: How do I know what fuse rating to use for my bedside lamp?A: Check the lamp's instruction manual or the existing fuse for the correct rating. Bedside lamps typically use a 3-amp (3A) fuse, but some may require 5A. Always replace a blown fuse with one of the exact same rating to ensure proper protection of your appliance and wiring.
Q: Is it worth repairing an old bedside lamp?A: It depends on the lamp's quality, sentimental value, and the cost of repair. For premium, well-made, or unique designs (e.g., solid wood, intricate metal, or artistic glass lamps), repair can be worthwhile. For basic, inexpensive lamps, especially if the fault is complex, replacement is often more economical and provides an opportunity to upgrade to a more energy-efficient or modern design with improved features.